Pip Install -R Requirements.Txt
Introduction:
Python has emerged as a popular programming language due to its simplicity and versatility. One of the key factors contributing to its success is the availability of a vast collection of third-party packages and libraries. Managing these packages efficiently is crucial for any Python project, and that’s where the ‘pip install -r requirements.txt’ command comes into play. In this article, we will cover everything you need to know about this command, including its purpose, usage, syntax, and best practices.
What is ‘pip install -r requirements.txt’?
The command ‘pip install -r requirements.txt’ is a common method used for installing multiple Python packages simultaneously. By specifying a ‘requirements.txt’ file, the command automatically installs all the packages listed within the file, saving you the time and effort required to install each package individually.
Why use ‘pip install -r requirements.txt’?
There are several reasons why using ‘pip install -r requirements.txt’ is beneficial:
1. Reproducibility: By keeping a ‘requirements.txt’ file, you can replicate the exact package versions used in your project. This ensures consistent behavior across different environments and makes your project more reproducible.
2. Collaboration: When working on a project with multiple developers, sharing a ‘requirements.txt’ file allows everyone to set up and maintain a unified package installation environment easily.
3. Dependency management: ‘requirements.txt’ enables you to manage dependencies efficiently. With a single command, you can install or update all the required packages, ensuring the compatibility and stability of your project.
How to create a ‘requirements.txt’ file?
Creating a ‘requirements.txt’ file is simple. Here’s a step-by-step guide:
1. Open your project directory in a terminal or command prompt.
2. Run the command ‘pip freeze > requirements.txt’. This will generate a ‘requirements.txt’ file containing a list of all installed packages and their versions.
3. You can further customize the contents of the file by removing unnecessary packages or specifying specific versions.
What is the syntax of a ‘requirements.txt’ file?
The syntax of a ‘requirements.txt’ file is straightforward. Each line represents a package and, optionally, its version specifier. Here are a few examples:
“`
PackageA
PackageB==1.2.3
PackageC>=2.0.0
“`
In the first example, the latest version of ‘PackageA’ will be installed. The second example specifies that ‘PackageB’ version 1.2.3 should be installed, while the last example requires ‘PackageC’ to be installed with a version equal to or greater than 2.0.0.
How to install packages from a ‘requirements.txt’ file?
To install packages listed in a ‘requirements.txt’ file, follow these steps:
1. Navigate to your project directory in a terminal or command prompt.
2. Run the command ‘pip install -r requirements.txt’.
3. ‘pip’ will read the ‘requirements.txt’ file, resolve dependencies, and install the required packages automatically.
How to update packages in a ‘requirements.txt’ file?
To update packages listed in a ‘requirements.txt’ file, you can follow these steps:
1. Update the desired packages in the ‘requirements.txt’ file by specifying the new version numbers or leaving them blank for the latest versions.
2. Navigate to your project directory in a terminal or command prompt.
3. Run the command ‘pip install –upgrade -r requirements.txt’. This command will upgrade the specified packages to their latest versions.
Best practices for using ‘pip install -r requirements.txt’:
To ensure a seamless experience, here are some best practices to follow when working with ‘pip install -r requirements.txt’:
1. Create a virtual environment: Always consider creating and activating a virtual environment before running ‘pip install -r requirements.txt’. This isolates your project’s dependencies from other Python environments.
2. Freeze versions: Freeze package versions in the ‘requirements.txt’ file whenever possible. This prevents unexpected or incompatible package updates.
3. Regular updates: Periodically update your ‘requirements.txt’ file to include the latest package versions. This ensures your project benefits from bug fixes, performance improvements, and new features.
4. Documentation: Include a ‘requirements.txt’ file in your project repository and document any additional dependencies or installation instructions for seamless project setup.
5. Review compatibility: Before updating packages, carefully review the new versions’ release notes, as some updates may introduce breaking changes or require additional configurations.
FAQs:
Q1. Can I include comments in a ‘requirements.txt’ file?
Ans: Yes, comments can be added by using the ‘#’ symbol at the beginning of the line.
Q2. Can I install packages from sources other than the PyPI repository?
Ans: Yes, ‘pip’ supports installing packages from various sources like Git repositories, local archives, or custom URLs. Consult the ‘pip’ documentation for detailed instructions.
Q3. What if package dependencies conflict with each other?
Ans: When conflicts arise, ‘pip’ uses its dependency resolver to find the best possible resolution. It tries to satisfy all package requirements while ensuring compatibility.
Conclusion:
Using ‘pip install -r requirements.txt’ is an excellent approach for installing and managing multiple Python packages efficiently. It simplifies the installation process, enhances collaboration, and ensures reproducible environments. By following the best practices mentioned in this article and understanding the command’s usage, you can streamline your project’s dependency management and focus on building exceptional Python applications.
How To Install Python Libraries Using Requirements.Txt
How To Install Requirements Txt In Pip Python?
If you have ever worked on a Python project, you are probably familiar with the requirements.txt file. This file lists all the required Python packages and their respective versions for your project to run smoothly. Installing these dependencies manually can be time-consuming and error-prone, especially as your project grows in complexity. That’s where pip, the package installer for Python, comes to the rescue. In this article, we will guide you through the process of installing the dependencies listed in a requirements.txt file using pip.
What is requirements.txt?
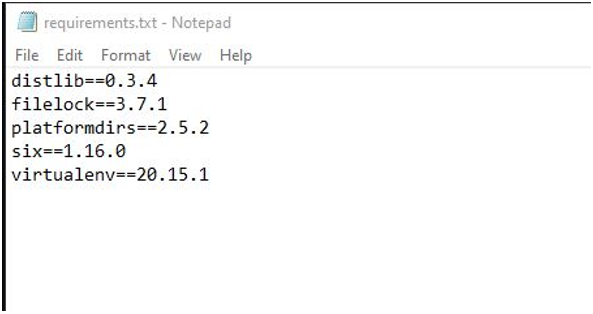
A requirements.txt file is a simple text file that lists all the Python packages and their respective versions required by your project. Each package is listed on a new line in the format package_name==version. For example:
requests==2.25.1
numpy==1.21.0
pandas==1.3.0
…
This file serves as a documentation of your project’s dependencies and makes it easy for others to reproduce or deploy your project with the exact set of dependencies.
Using pip to Install requirements.txt
Pip is a powerful package installer for Python that simplifies the process of managing packages and their dependencies. To install the packages listed in a requirements.txt file, follow these steps:
Step 1: Create a virtual environment (optional but recommended)
Virtual environments provide a clean and isolated environment to work on your Python projects. It allows you to install packages specific to your project without affecting the system-wide Python installation. To create a virtual environment, open your terminal and navigate to your project’s directory. Then, run the following command:
“`
python3 -m venv myenv
“`
This command will create a new virtual environment named “myenv”. You can replace “myenv” with any name of your choice.
Step 2: Activate the virtual environment
Once the virtual environment is created, you need to activate it before installing the required packages. On Unix and Linux-based systems, use the following command:
“`
source myenv/bin/activate
“`
On Windows, use the following command:
“`
myenv\Scripts\activate
“`
You will notice that the prompt of your terminal changes, indicating that you are now working within the virtual environment.
Step 3: Install the dependencies
With the virtual environment activated, you are ready to install the packages from the requirements.txt file. In your terminal, navigate to the directory where the requirements.txt file is located and run the following command:
“`
pip install -r requirements.txt
“`
Pip will read the file and install each package along with its specified version. You will see the installation progress for each package as pip works its way through the file. Once the installation is complete, all the required packages will be available in your virtual environment.
Frequently Asked Questions (FAQs):
Q1. Can I install packages globally instead of using a virtual environment?
A1. While it is possible to install packages globally, it is not recommended. Installing packages globally affects the system-wide Python installation and might lead to conflicts or compatibility issues with other projects. Using a virtual environment ensures a clean and isolated environment for your project.
Q2. How can I update a package to a specific version?
A2. If you want to update a package in your requirements.txt file to a specific version, simply modify the version number in the file and rerun the `pip install -r requirements.txt` command. Pip will automatically update the package to the specified version.
Q3. What if a package specified in the requirements.txt file is not found?
A3. If a package specified in requirements.txt is not found, pip will throw an error indicating the missing package. Make sure the package name is spelled correctly and the version exists. Check for any typos or mistakes in the file.
Q4. Can I install packages from sources other than the Python Package Index (PyPI)?
A4. Yes, pip allows you to install packages from various sources, including private repositories or version control systems like Git. You can specify the source using additional flags with the `pip install` command. Refer to the pip documentation for more information on installing packages from alternative sources.
Q5. How can I generate a requirements.txt file for my project?
A5. You can generate a requirements.txt file for your project by using the `pip freeze` command within the virtual environment. Activate your virtual environment and run the following command:
“`
pip freeze > requirements.txt
“`
This will create a requirements.txt file containing the names and versions of all the installed packages in the virtual environment.
Conclusion
By following the steps outlined in this article, you can easily install the required dependencies listed in a requirements.txt file using pip. Properly managing project dependencies is crucial for replicability and ease of deployment. Virtual environments provide a clean and isolated environment to work on your projects, ensuring that your project’s dependencies are well-organized.
How To Install Pip Install Requirements?
Introduction
When it comes to managing Python packages, Pip is the go-to package installer. It simplifies the process of installing and managing software libraries or packages in Python. One crucial aspect of using Pip is installing the required packages for a particular project. In this article, we will delve into the topic of how to install pip install requirements, guiding you step-by-step through the process.
Step-by-Step Guide on How to Install Pip Install Requirements
Step 1: Install Pip
Before we can begin installing requirements, we need to ensure that Pip is installed on our system. Pip usually comes pre-installed with Python distributions, but if it’s not, you can manually install it. Open your command prompt or terminal and execute the following command:
“`
$ python -m ensurepip –upgrade
“`
This command will check if Pip is already installed and, if not, it will install it for you.
Step 2: Create a Virtual Environment
While not mandatory, it is highly recommended to create a virtual environment. A virtual environment allows you to have an isolated Python environment where packages and their versions are controlled independently of the system-wide installed packages. To create a virtual environment, execute the following command:
“`
$ python -m venv myenv
“`
Replace “myenv” with the desired name for your virtual environment. This command will create a new directory named “myenv” containing all the necessary files for your isolated environment.
Step 3: Activate the Virtual Environment
To start using the virtual environment, we need to activate it. On Windows, execute the following command:
“`
$ myenv\Scripts\activate
“`
On macOS or Linux, use this command instead:
“`
$ source myenv/bin/activate
“`
You will notice that your prompt will change, indicating that the virtual environment is active.
Step 4: Create a Requirements.txt File
To install the required packages, we need to create a file called “requirements.txt”. This file lists all the packages and their versions required for your project. Open a text editor and add each requirement in a new line, in the format `
“`
numpy==1.21.0
pandas==1.3.0
matplotlib==3.4.2
“`
Make sure to specify the desired version or use the operator `>=` to define a minimum required version.
Step 5: Install Requirements
With the virtual environment active and the requirements.txt file ready, we can now install the required packages. Execute the following command:
“`
$ pip install -r requirements.txt
“`
Pip will read the requirements.txt file and proceed to install each package listed with the specified version. It will also handle the dependencies automatically, ensuring a successful installation.
FAQs
Q1: What is a requirement file and why is it used?
A requirement file, in this context, is a simple text file that lists all the Python packages and their versions required for a project. It helps in ensuring reproducibility by allowing developers to easily install the exact same package versions on different systems. It simplifies package management and eliminates the need to manually install each package.
Q2: Can I install packages without using a requirement file?
Yes, you can install packages without a requirements file. However, using a requirement file is highly recommended, especially when working in a team or when deploying code to different environments. It helps maintain consistency across systems and reduces the chances of compatibility issues.
Q3: How can I upgrade a package to a newer version?
To upgrade a package to a newer version, you can modify the requirements.txt file by changing the version number to the desired one. Then, run the command `pip install -r requirements.txt` again to reinstall the updated package.
Q4: Can I install packages globally instead of in a virtual environment?
While it is technically possible to install packages globally, using a virtual environment is highly recommended. Installing packages globally may lead to conflicts between different projects’ dependencies and can cause unexpected errors. Virtual environments ensure project-specific package management and maintain clean separation between projects.
Q5: How can I uninstall packages installed via Pip?
To uninstall a package installed via Pip, use the command `pip uninstall
Conclusion
Installing the required packages for a Python project is made easy with Pip and the use of a requirements.txt file. In this article, we provided a step-by-step guide on how to install pip install requirements, from installing Pip to activating a virtual environment and installing the required packages. Following this guide, you will have all the necessary tools to smoothly manage Python packages for your projects.
Keywords searched by users: pip install -r requirements.txt
Categories: Top 77 Pip Install -R Requirements.Txt
See more here: nhanvietluanvan.com
Images related to the topic pip install -r requirements.txt
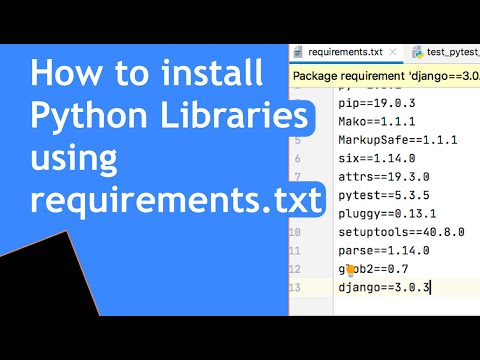
Found 44 images related to pip install -r requirements.txt theme






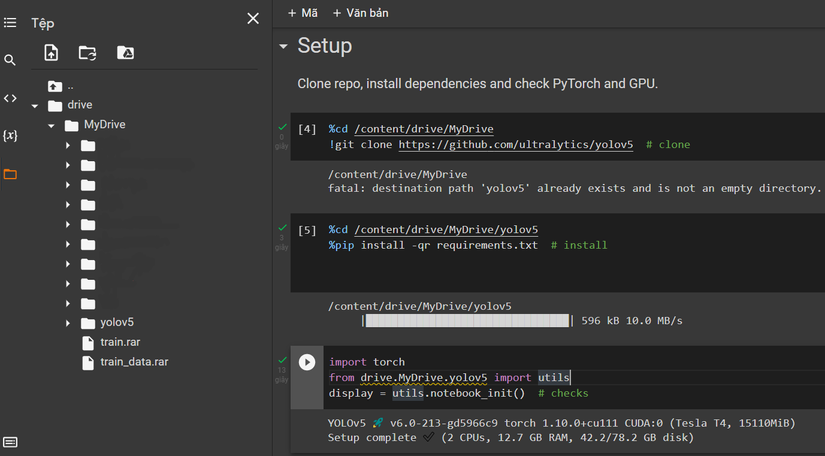
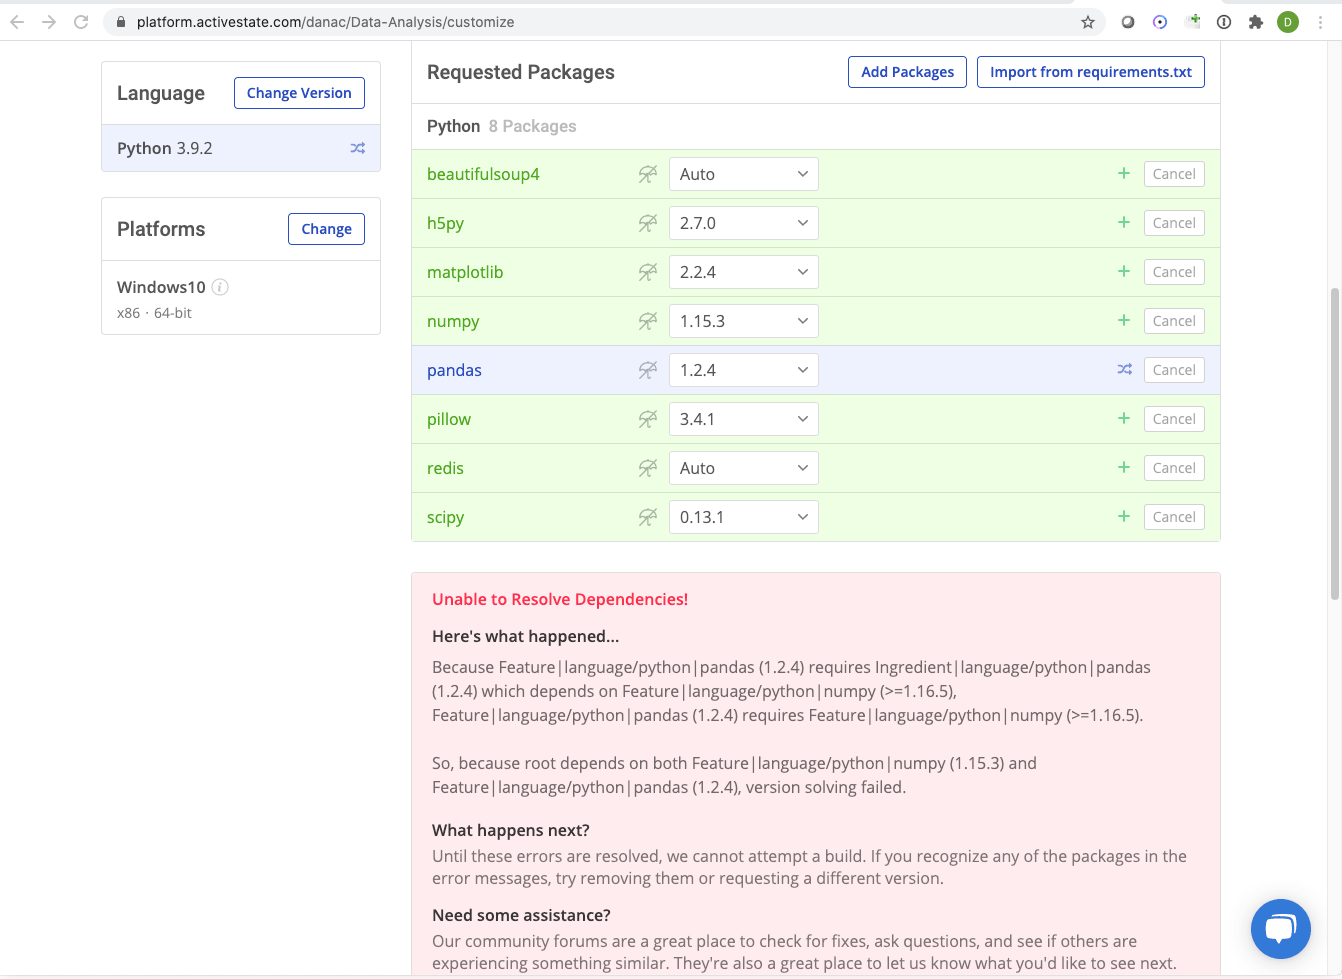

Article link: pip install -r requirements.txt.
Learn more about the topic pip install -r requirements.txt.
- Use requirements.txt (Python only) – Domino Data Lab
- How can I install packages using pip according to the requirements.txt …
- How to install Python packages with pip and requirements.txt – nkmk note
- pip install -r requirements.txt not installing libraries in vs code virtual …
- how to create requirements.txt python? | Scaler Topics
- How do I use requirements.txt to install all dependencies in a …
- Python requirements.txt File – Linux Hint
- https://stackoverflow.com/questions/7225900/how-ca…
- Generating the requirements.txt file – Mastering Python for …
- Manage dependencies using requirements.txt | IntelliJ IDEA …
See more: nhanvietluanvan.com/luat-hoc